

Create your household
Hjälpartiklarna finns än så länge bara på engelska.
Setting up Plannie takes a few minutes. You create an account, name your family, add its members, and Plannie handles the rest, including some starter content so you never land in an empty app.
1. Create your account
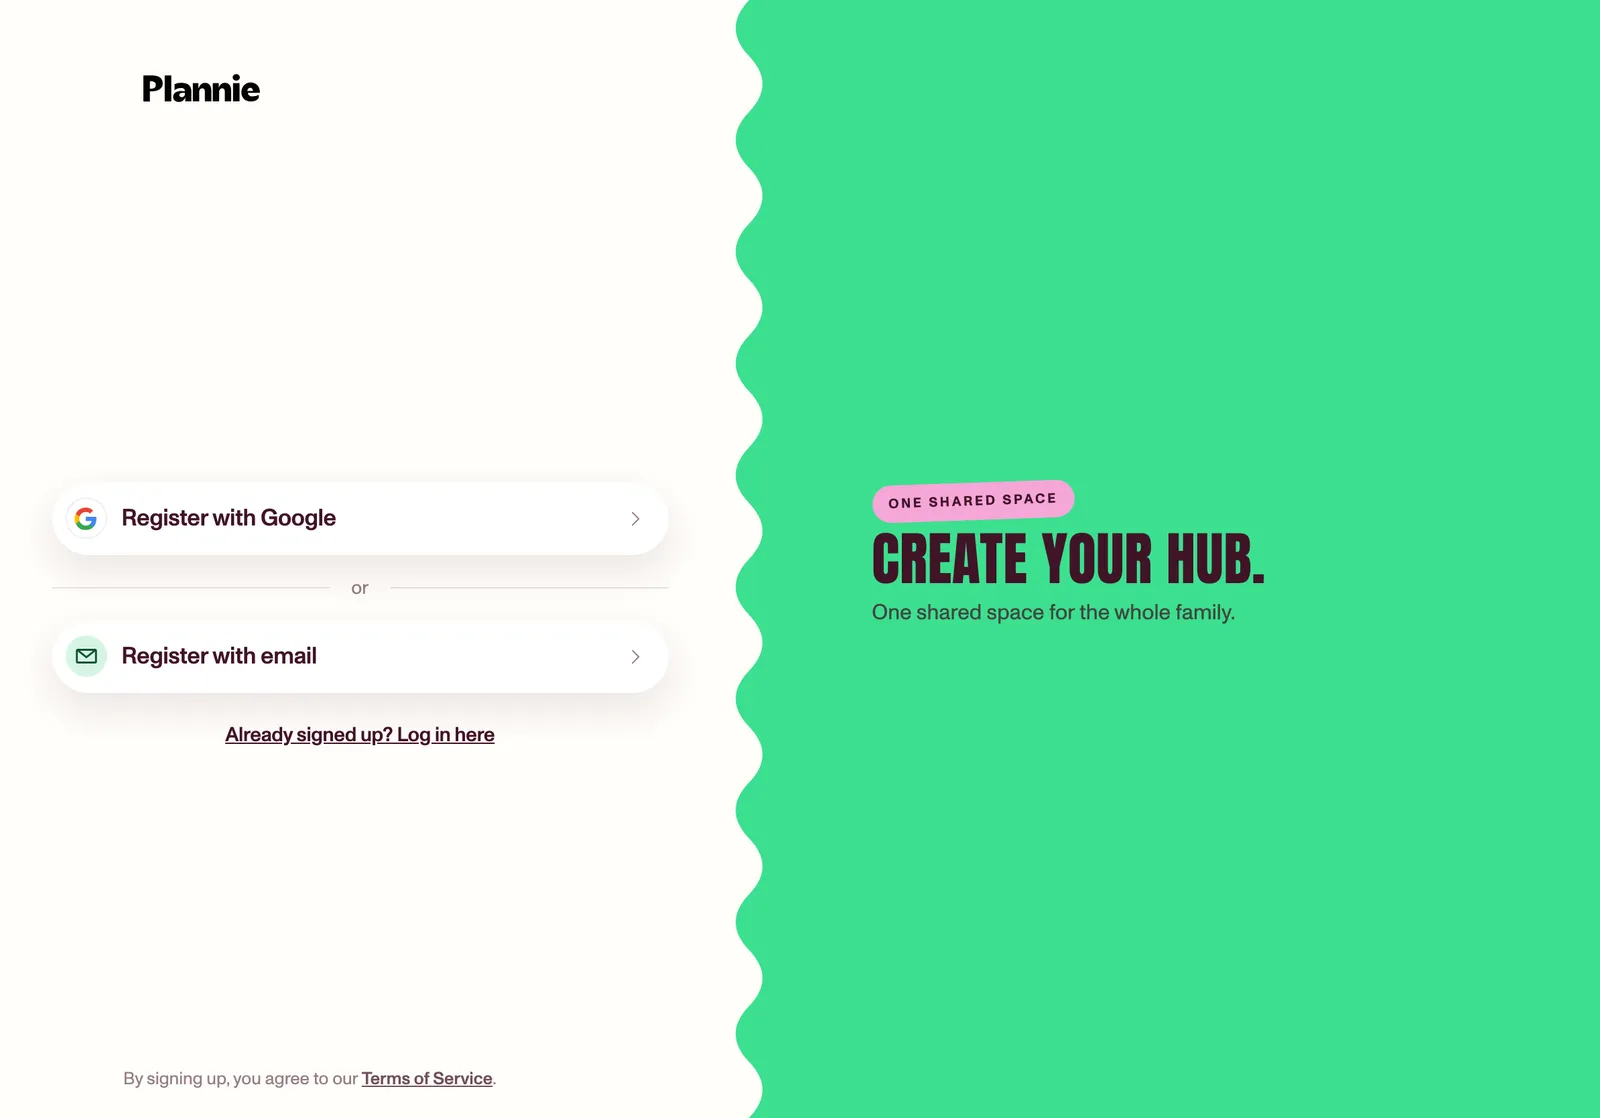
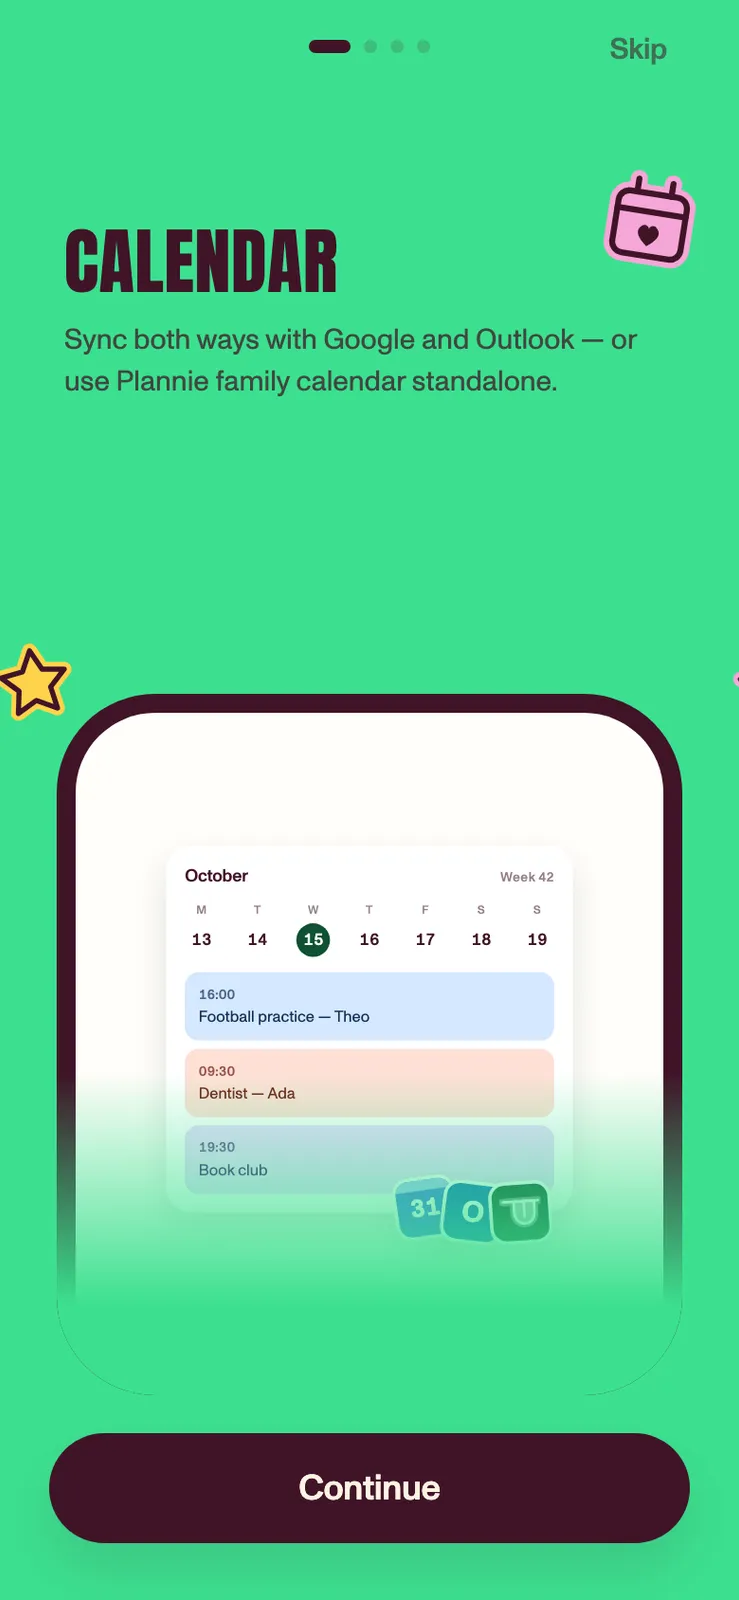
In the iPhone, iPad, and Android apps, Plannie opens on a welcome screen. Tap Get started to enter a short swipeable intro of four pages covering the calendar, chores and rewards, meals, and Plannie Assistant. Swipe through them, or tap Continue at the bottom to move on one page at a time; Continue on the last page takes you to Create your hub, the sign-up screen. Skip in the top corner of any of the four intro pages jumps straight there. In a browser, the sign-up buttons on plannie.io take you straight there; opening app.plannie.io on its own shows the Log in screen instead, so tap New to Plannie? Create your hub there to sign up. The two screens look alike, so the buttons say which one you're on: Register with Google, Register with Apple, and Register with email when you're signing up, and Log in with Google, Log in with Apple, and Log in with email when you're signing in.
Sign up with Google, Apple, or email and password (at least 8 characters). With email, we send a 6-digit verification code to your inbox. Enter it within an hour and you're in. Use an address you can open: reserved test domains such as example.com are refused before the account is created, because the code could never arrive.
The Sign in screen accepts the same three methods. Choosing Google or Apple there when you don't have a Plannie account yet creates one and takes you straight into setup, and if you had already started setting up, you carry on from the step you reached.
Plannie keeps you signed in between launches, and app updates leave your session alone. Deleting the app and installing it again does sign you out: Plannie opens on the welcome screen with the intro again, and you sign in with the same account instead of creating a new one. Nothing is set up twice; your family, calendar, and everything in it is waiting on the server as you left it.
2. Walk through setup
The guided setup asks for:
- How you found Plannie (optional): where you heard about us, plus a box to tell us what you need Plannie for. Both are optional, and the whole step is skippable.
- Your family name, which becomes the household everyone shares.
- Who's in the family: add each person with a name and a color. You are the first member automatically. Everyone gets one of eight colors that follows them across the calendar, habits, and rewards.
- Connect a calendar (optional): link Google or Outlook now, or skip and do it later in Settings.
- Notifications: choose whether Plannie can send reminders. If you have already allowed notifications for Plannie on this device, there is nothing left to ask and setup skips this step. The apps can only ask once, so if you turned notifications down before, Allow notifications opens Plannie's page in your phone's or tablet's Settings, where you can switch them back on.
- Parental-lock PIN (optional): a 4–6 digit PIN that protects Settings and reward management. You can skip this and add it later.
- Appearance: Light, Dark, or "Follow sun" (automatic).
- How will you use this device?: pick Kiosk mode for a screen the whole family shares, or Personal device for your own phone or tablet. Plannie suggests Kiosk in a browser and Personal in the apps, and you can change it later in Settings. See Device modes.
- Family email: your household gets its own email address for the Family Inbox.
You can leave setup at any point and pick up where you left off. Progress is saved.
In the iPhone, iPad, and Android apps there's no plan step and nothing to pay while you set up; every feature is unlocked while we launch. Setting up in the browser adds a plan step. See Welcome to Plannie for what's free, what's Plannie Premium, and what happens when the launch offer ends.
3. Look around
Your new household comes with a couple of starter lists and a first habit and reward per member, so the app makes sense immediately. Delete or edit them freely; they're just examples.
The first time you open the Calendar tab, a short guide introduces the three ways to get things into Plannie without typing them in: forward an email to your Family Inbox, attach a photo or PDF in a chat with Plannie Assistant, or share a link, photo, or PDF straight to Plannie from another app (Magic Import). Tap Next through the pages and finish on Let's go!, or tap I will figure it out myself to close it. Everyone in the family sees it once, on their own first visit, and it doesn't come back afterwards.
After your household's first successful import, however it arrived, Plannie says You are a natural! once, wherever you happen to be in the app, and points you to Settings → General if you want to reach us or vote on ideas. Tap Got it! and it's done: everyone in the family gets this moment a single time, whether or not they went through the guide.